

You'll need:
- 25 7/8" x 1 1/4" strips of brown paper (not cardstock)
- Adhesive
- Double-faced satin ribbon
- Stickles or glitter
- Patterned Cardstock
- A thin strip of the brown paper, 1 1/4" long, cut with a slight angle. See the bottom of the picture on the left
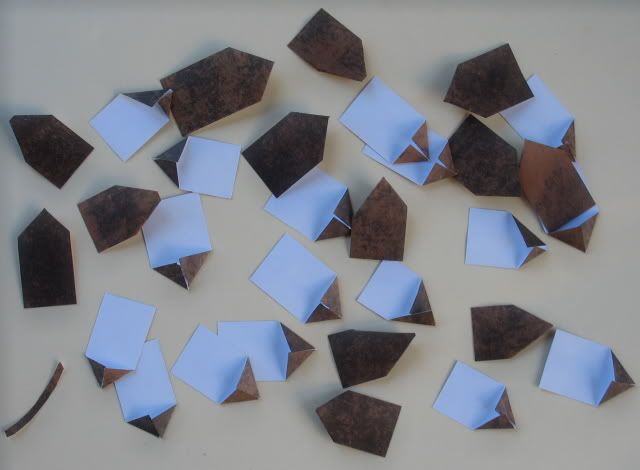
Step 1:
Fold back the corners of all of the 25 strips of brown paper. See picture at left.
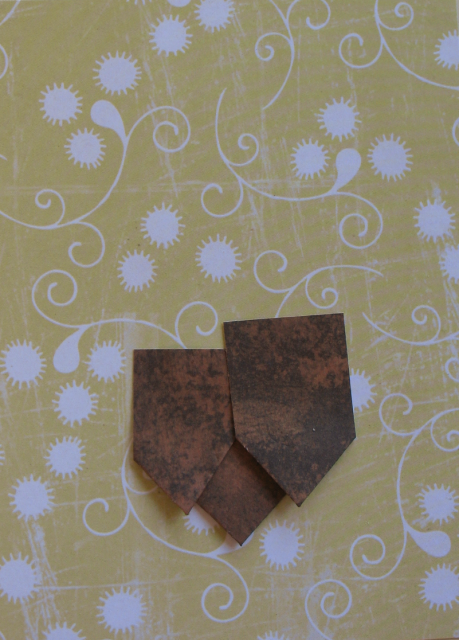 Step 2:
Apply a strip of adhesive to the back of the folded strips. Starting 1" from the bottom of the patterned cardstock, begin layering the folded strips like the picture to the right. Remember that the pinecone will look more natural if the strips are not placed perfectly symmetrical.
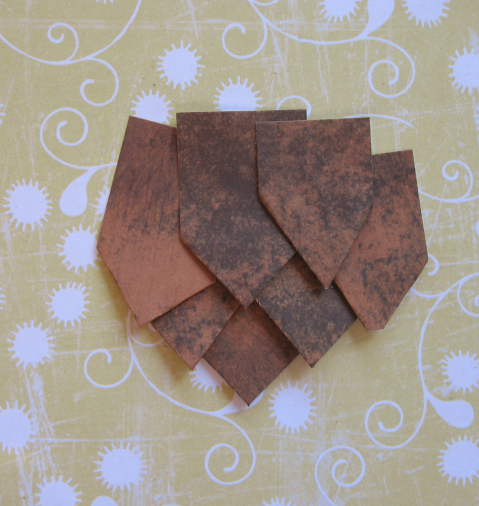
Continue layering your strips. You are aiming for something like an egg shape. You may need to angle some of your strips towards the center and fold back the top outside corners of the strips to create the desired shape.
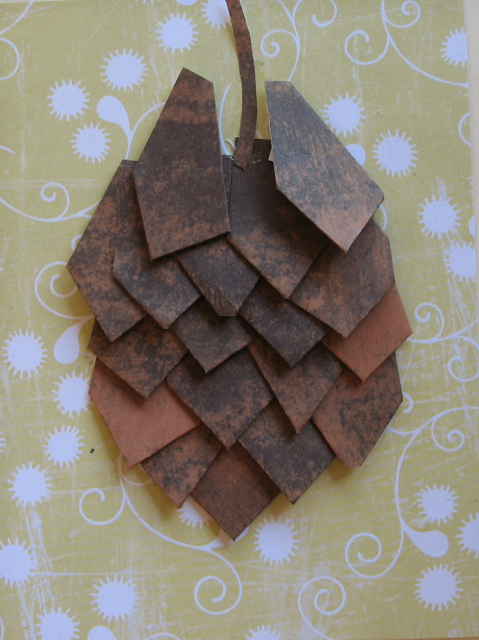
Step 3:
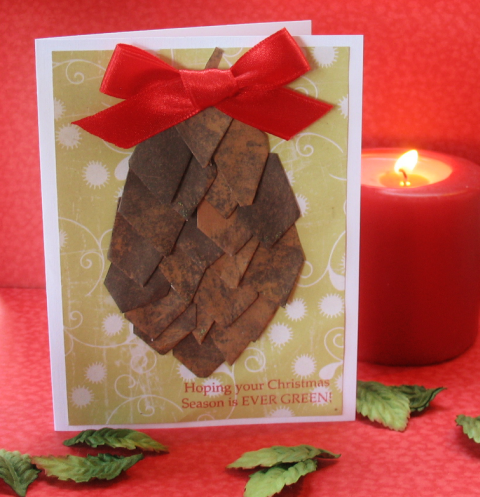
When you get to the top, adhere the thin strip in the center. See picture on the left. Then, cover up the bottom of the thin strip with a folded strip. Tie ribbon into a bow and adhere.
Finish card by stamping sentiment on bottom right of card front and adhere cardfront to folded card. Apply Stickles to the tips of some of the folded strips.
Credits:
"Hoping your Christmas Season is Ever Green" stamp: My Sentiments Exactly!
Brown patterned paper: Leather Trunk from Sandylion Travel Company
Patterned background paper: Cosmo Cricket
Ribbon: ribbon store
Stickles
9 comments:
WOW this is so creative! I love it! Great job with the tutorial! Cool card!
This look like a lot of job! This is really great! Thanks for sharing!
You are really rocking the tutorials this week. Another fantastic Christmas project.
Absolutely fabulous! Thanks so much for sharing!
This looks so fancy!!
Beautiful! It looks like a lot of work. Wonderful job!
Another awesome tutorial, Heather. You are so creative with them!
Cool! I love the pinecone!
This is so Cute! I'm gonna give it a try :o)
Post a Comment