Food                      Fabric                    Paper                    Holidays                    Decorating                   Giving                     

Tuesday, November 30, 2010

Three Easy Candy Cane Treats

Welcome to day three of We Grow By Our Dreams' Red and White Week. Today I will show you how to make three yummy treats using only 3 ingredients. Hello quick gift idea.
The three ingredients you will need to make all three treats are:
  • Candy canes (I used regular size but small would work too)
  • Pretzel Rods
  • White melting chocolate (it goes by many names)


J.O.Y Candy Cane Letters
Inspired by the L.O.V.E. letters on the Make and Take blog, the J.O.Y. letters add a festive Christmas touch.

Preheat the oven to 300 degrees. Line a cookie sheet with parchment paper. Break and arrange 4 1/2 candy canes like the picture.

Bake for 5-7 minutes. The candy will flatten slightly and the broken pieces will meld together. Remove from pan when cool.That's it!


Red and White Candy
This is a variation of my pink candy recipe. To make Red and White candy you will need:
  • a half a bag of white chocolate melting chips, melted according to package directions
  • 2 crushed candy canes
Spread the melted white chocolate in an even, thin layer on a parchment lined cookie sheet.

Sprinkle the crushed candy canes over the melted chocolate while it is still warm.  Allow time for candy to cool before lifting it off of parchment paper and breaking it into pieces.
Dipped Pretzels
You will need:
  • 1/2 bag of white chocolate chips
  • 2 candy canes, crushed into fine pieces
  • 1 bag of Pretzel Rods

Sprinkle the candy cane pieces on top half of parchment-lined cookie sheet.
Dip whole or halved pretzel rods into melted white chocolate. If you use halved rods, dip the broken end into the chocolate.
Roll the dipped rod into the crushed candy canes and allow time to cool on the cookie sheet.
They look great displayed in an ice cream glass along with peppermint taffy and red and white kisses.
There you have it, three easy red and white treats using only three ingredients. Save yourself time and melt the whole bag of chocolate chips at once. And, crush the candy canes for the Red and White Candy and Dipped Pretzels at once.
If you missed the previous Red and White Week posts, check out the Curtain to Cute Apron Transformation and the Homemade Gift Guide. 
Come back tomorrow for more red and white fun. I have more edible treats, an origami creation and some fun thrifted finds to share this week.

Monday, November 29, 2010

Handmade Red and White Gifts

Welcome to day two of We Grow By Our Dreams' Red and White Week. I love giving handmade gifts whether they have been created by me or another talented crafter. I found some really fun red and white things to share from Etsy Shops. Let's support our small business artists.

2. Queen of Hearts Matroyshka Doll by Mikasita (OMG, this seller in Mexico has the cutest stuffed dolls ever!)
4. Candy Cane Booties by Sweets Handmade Gifts (so darling)
5. Felted Tray by Gretchen's Creations (she has some really amazing things in her shop)
6. Hand Painted Joy Letters by Daffidolls  (I love the stockings she makes from recycled sweaters)
7. Believe Banner by Studio 1621 (check her great jewelry too)
9. Red Turquoise Necklace by Rachelle D (Love her necklaces.)

Thanks for stopping by. Tomorrow I'll have some edible treats to share. And, don't be shy about sending me links to fun red and white things that you find in cyberspace.

Sunday, November 28, 2010

Curtain to Cute Apron Transformation

This week, We Grow By Our Dreams is celebrating Red and White Week. All week I'll be featuring crafts, food and other fun stuff as a tribute to the red and white color combo. To kick off the week I have a quick, inexpensive and easy sewing project for you to make for yourself or to give as a gift. Introducing. . . .

The Curtain Apron
You'll need:
1  Curtain panel with rod pocket
1  17" piece of 1/2" elastic
Safety pin
2  36"x 4" strips of fabric for ties
pins, scissors and sewing machine

First, choose a really cute curtain. I bought mine at an estate sale. Usually these panels come in a set but this beauty was a loner. I love the ruffle and the embroidered flowers. You may have a kitchen curtain you'd like to retire or you may find a great one at a garage sale or on clearance somewhere.
Second, find a cute coordinating fabric for your straps. I had some red and white check fabric in my stash. Cut the fabric into two 1 yard by 4 inch strips.
Third, fold over your strips lengthwise (right sides together) and sew the open sides 1/4" from the edge.
Now, flip each tie inside out and tuck one end in 1/2 inch inside and sew shut. Leave the other end unfinished.
Next, with a safety pin on one end of elastic piece, thread through top pocket of curtain, gathering as you go.
Finish by sewing the elastic piece and the unfinished edge of each tie to the inside of each end of the rod pocket. It helps to pin in place.

There you go, the Curtain Apron. If you try it, please leave a comment with your link and any suggestions you may have to improve it.

Please play along. If you have something red and white to share, please leave a comment below. It could be something on your blog or a find from another website. Share the red and white love.
Thank you for stopping by today.

Friday, November 26, 2010

Red and White Week Preview

I LOVE red and white together, especially for Christmas. So, I'm dedicating a week of my blog to the fabulously festive color combo. I have fun food, thrifting, crafts and other delights to share with you.  

I would also like to extend an invitation to you to play along. If you have any red and white things to share, please post a link in the comments section so we can share the red and white love.

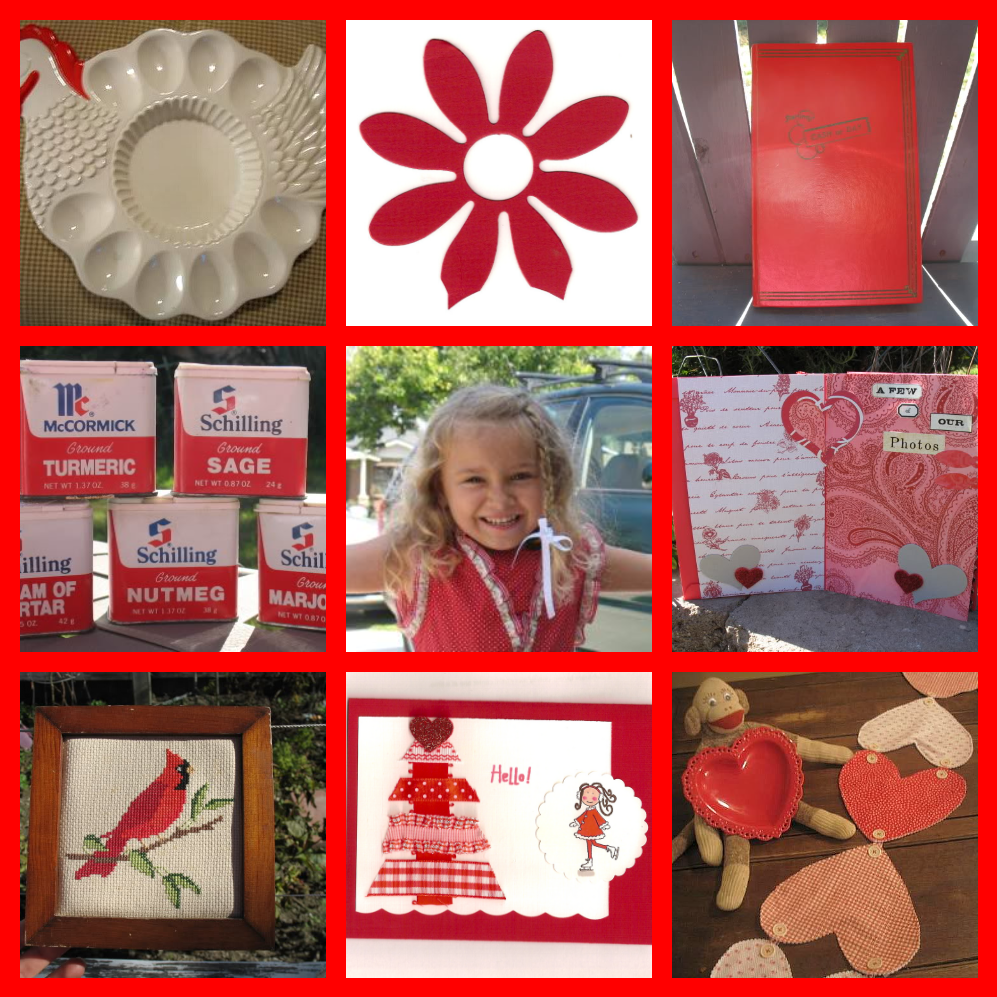
To get your red and white juices flowing, I made a little collage of some red and white pictures from the past.

Thank you for visiting and I'm not kidding, please share your post link so we can all oooh and awww. :)

Thursday, November 25, 2010

A Goofy Thanksgiving

My family, the Grow Girls, went to Goofy's Kitchen for Thaksgiving dinner. Goofy's Kitchen is one of the restaurants in the Disneyland Hotel.
In the Hotel entrance
I highly recommend all of the Disneyland restaurants. The food is great and several fun characters visit with you at your table. We saw Alladin, Dale, Goofy, Donald, Minnie, Briar Bear, and some other bear.
I only took pictures of the dessert station items but I will tell you that the dinner was great. Lots of choices for kids and grown-ups. The good news is that it's all you can eat.Only Disney can get away with serving gummy bears with Thanksgiving dinner


Pecan Pies
Mini Pumpkin Pies
There were some really cool breads shaped like turkeys and alligators. I have no idea why an alligator is at a Thanksgiving spread but, why not?
I kid you not. This was my dessert plate. Not pictured is my caramel nutella tart and rice Krispie treat. And, there were lots of desserts that I left alone like the ice cream sundae bar, the fruit cobbler, jello, brownies, and cookies.
The Rice Kristie treats were very colorful with just a hint of white chocolate.
Yummy Rice Krispie Treats
Here is the niece with Goofy himself.
She's getting to that age where she gets embarrassed taking pictures with the characters.
Happy Thanksgiving!

Friday, November 19, 2010

A Simple Love Card

During the Operation Write Home Be My Valentine blog hop, I realized that I don't have a lot of Valentine-y sentiments. And, to add incident to injury, my printer was acting up on my this weekend so I couldn't do the digi thing either. Sheesh. Thus, out of desperation, I had to go to my stash for lovey embellishments.
I made this card from papers, ribbon and a metal tag that I've been hoarding for just the right time. I think that our troops and their loved ones deserve the best so it was fun to layer all the treasures together.

Thanks for stopping by my blog today. What are you hoarding?

LinkWithin

Related Posts with Thumbnails