

Heart Table Runner
You'll need:
Heart Pattern (see below)
White felt (sold by the yard)
Red and white fabrics (probably a yard total)
Buttons and ribbon
Sewing Machine
Needle and Thread
Pinking Shears and rotary cutter
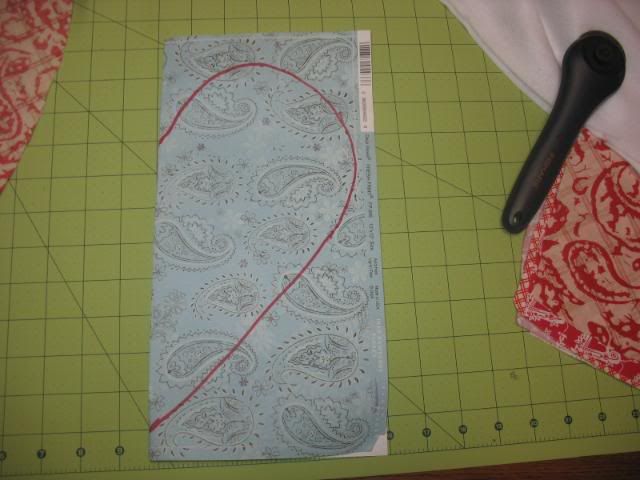
First, make your heart pattern. Fold a piece of 12 x 12 scrapbooking paper in half and draw this:
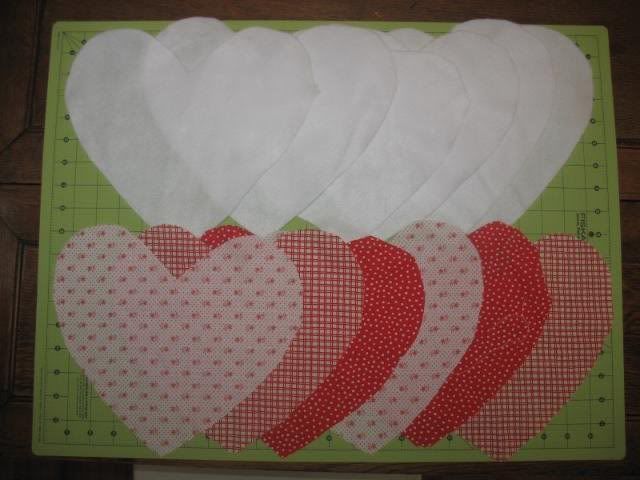
See, you have 6 white hearts and 6 red/white hearts. Now, place a red/white heart on top of a white heart and pin with the right side facing up. I only do one pin in the middle but you can do a few if that makes you feel more comfortable.
Don't stress if the sides don't perfectly match. We'll take care of that later. It's time for some sewing. You can see how the felt is totally wider than my red fabric. So, I'm using my top piece as my guide.
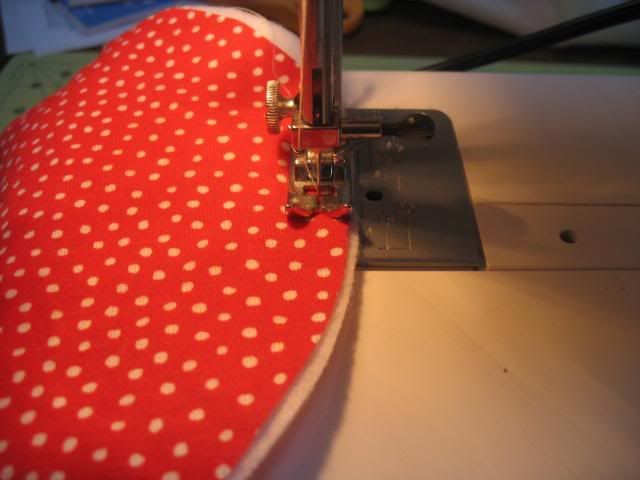
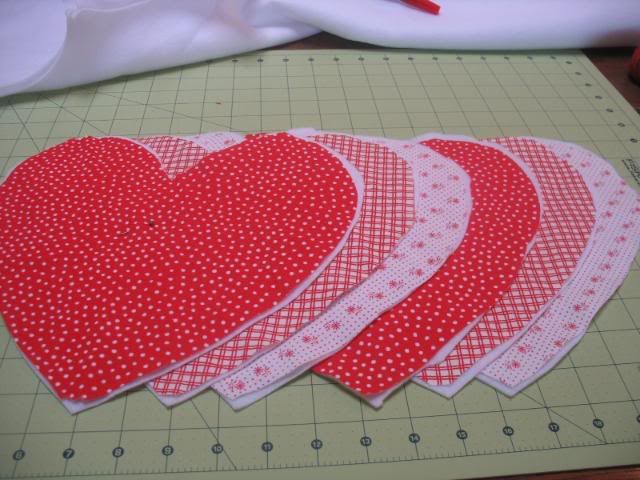
Sew all the way around the heart. I use about a 3/8 inch. Don't go smaller but you can go a little wider. Do this for all 6 of your hearts.
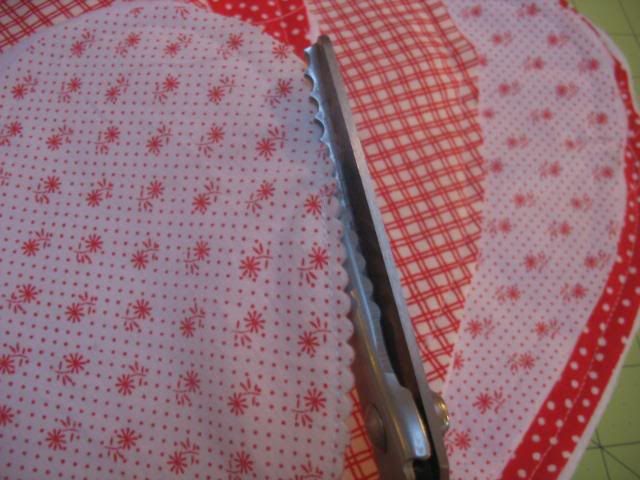
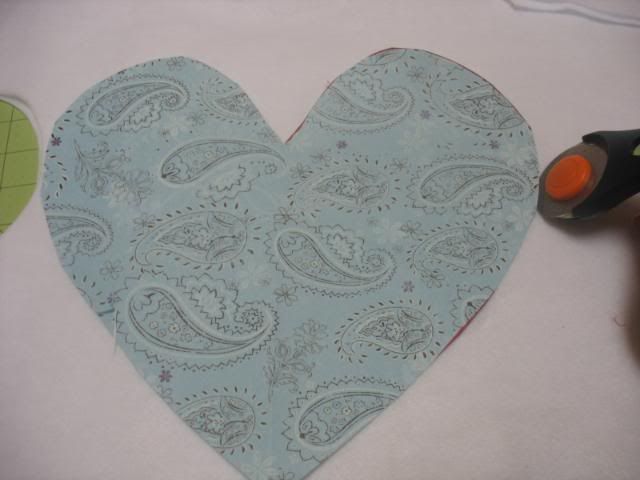
Using your pinking sheers, cut all the way around the outside of your heart. The width from the stitching doesn't matter as long as you don't cut your stitches. Now, let's attach our hearts.
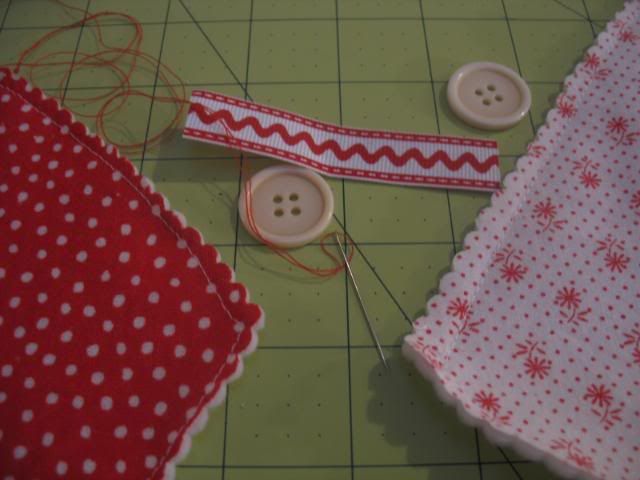
Using a needle and thread (I used red thread) you are going to connect the hearts with a ribbon on the back and buttons on the front. You'll do this pointy ends (of the heart) together and then rounded ends together.

I used 3 inch long strips of 1/2 inch ribbon but you can use wider or more narrow ribbon if you like, depending on the size of your buttons. This is a picture of the back.

This is how the rounded edges are attached.
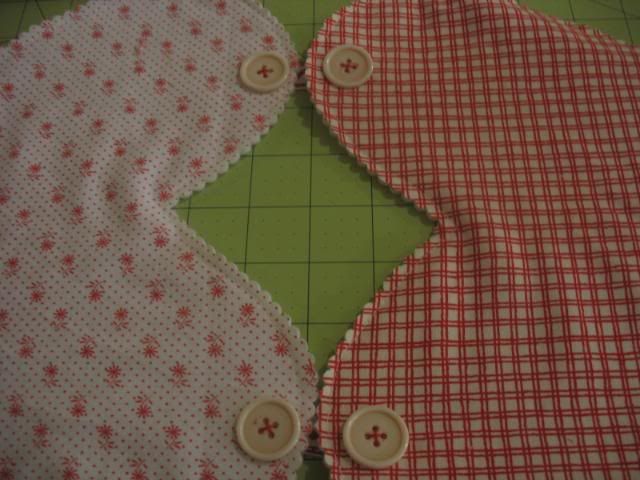
Attach all the hearts and you are done. You can make it longer or shorter. Just remember to do an even number of hearts.

Enjoy! Thanks for visiting my blog today. Thank you Tip Junkie for featuring me. And, welcome Craft Critique Valentine's Day Carnival visitors. Please leave me a comment and say, "hi." You may also enjoy my new pink candy tutorial.
9 comments:
Love this new creation!
Hi! I was looking at your blog last night just before bed, when I saw your heart table runner. Liked it! So at the breakfast table this morning, I realized that I wanted to make one out of fabric that I saw last week... It is a quilted-2 sided-black'n'white-damask pattern. Now to decide, black or white ribbon? Black or white buttons? Fun, fun idea! Thaks for sharing... I will send you a picture. :)
OK... I adire this. It is just too cute for words. Maybe I could make one - If I can manage to excavate the sewing machine from the craft room.
Opps - I ADORE this... sheesh, messy fingers
This is fabulous! You are so clever. I'd never have thought to string it together like you did. Very clever.
So Cute! It table runner. I think it would be great as a banner or Garland. Thanks for the tutorial too!
Very cute and unique, I LOVE IT. Thanks for sharing.
WOW... super cute...and easy too! Thanks for the tutorial!!!
Cute idea! Thanks for the step by step photos!
Post a Comment